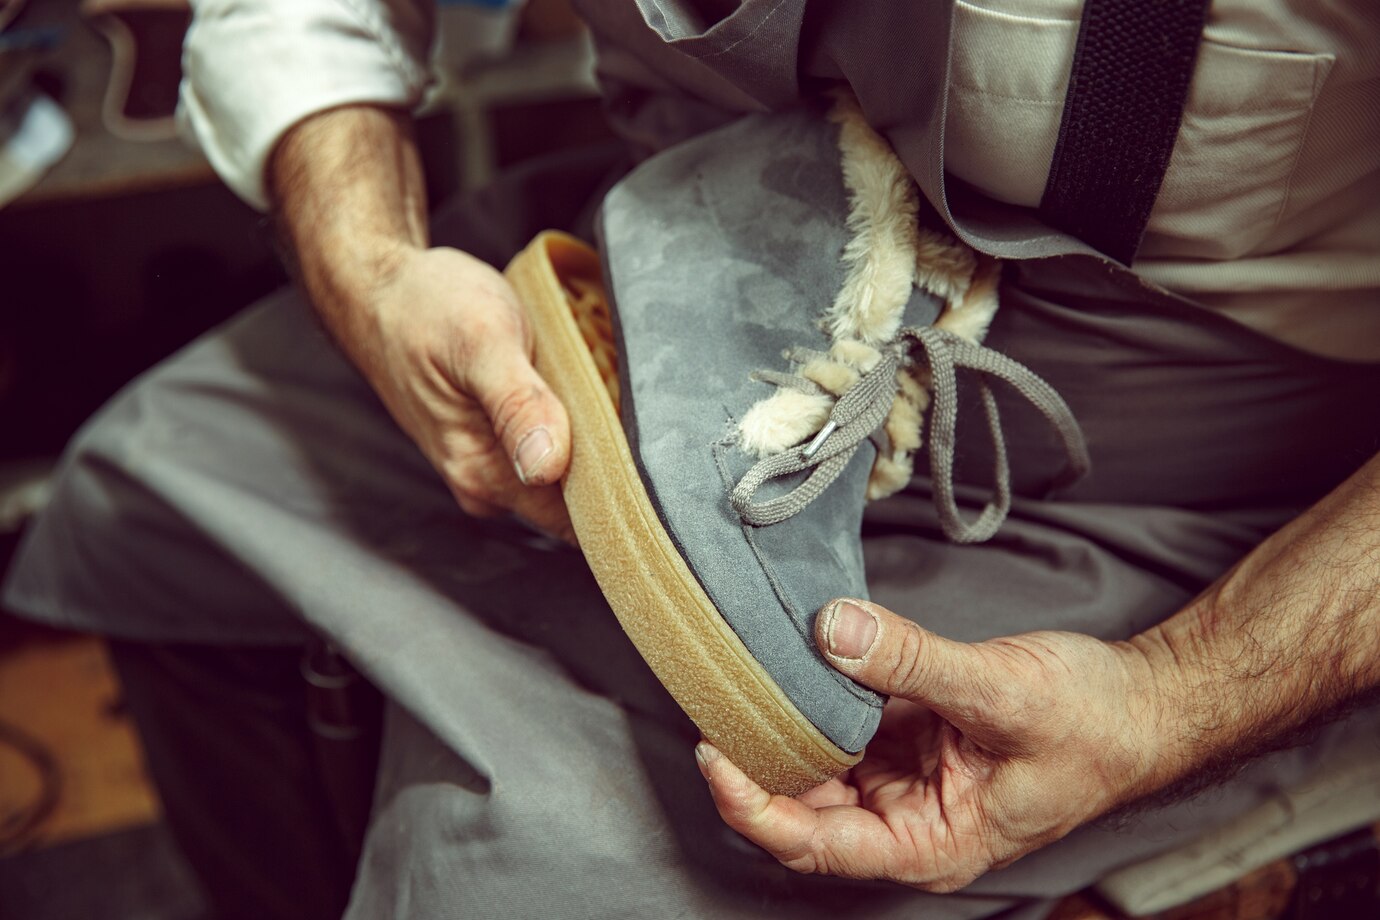
Ankle boots tend to take a good beating – whether for hiking, work, or daily activities they inevitably wear out. Our main concern is that The ankle support in the boots tends to weaken, making the boots loose and uncomfortable. In case you are faced with such an issue, do not fret! You can reinforce the boots' ankle area with ankle supports to restore their original shape.
In this guide, we’ll cover easy methods to fix your boots and make them last longer. From addressing worn-out leather to restoring its fit, you’ll learn how to reinforce boot ankle DIY with simple solutions.
Why and How Boots Fall Apart?
Manufacturers design boots in a variety of styles, including shorter low-ankle and taller knee-length high boots. Some of the popular problems that boot wearers seamlessly face include:
- Sole separation
- Heel separation
- Toe separation
Rips, Tears, and Cracks in the Material
Manufacturers typically use leather, rubber, or synthetic materials for most boot uppers. Leather is prone to wear and cracking if not properly maintained. This happens because it is no longer hydrated and nourished as it was in the living organism from which it was derived. Long-term use of leather boots can cause the leather to go out of shape and crack while the rubber sole may begin to come out of the boot.
Addressing Boot Slouching at the Ankle
Slouching at the ankle is a common issue for people who wear boots for long periods. This can occur when the material stretches and loses firmness after extended use. This not only makes the boots look unappealing, but it also causes discomfort when walking in them. A simple solution is to add ankle padding. This will provide extra cushioning and support, preventing the boots from collapsing at the ankle.
Dealing with Boot Hurting Ankle
When your boots begin to pin down your ankle, it indicates a loss of structural support from the fit. Badly fitting boots can cause blisters or sore spots, making it impossible to participate in a favorite sport or activity. Fortunately, this issue can be resolved by reinforcing the collar. Thicker socks, insoles, or heel grips can fill the void and help stabilize the foot inside the shoe, avoiding the dreadful rubbing caused by prolonged use.
Boot Collapsing in on Ankles
Dampen the Inside Seams Start by dampening the inside seams of the boots with a bit of water to soften the leather.
Work the Top of the Boots Bend the top part of the boots back and forth to loosen up the leather.
Focus on the Heel Area Pay special attention to the heel. Use your thumb to press on the back of the boot where the top meets the heel.
Watch the Side Seams As you press, you should see the side seams pull away from the ankle area. Keep working the sides and heels back and forth until the leather softens.
Ensure the Seams Lay Flat When done correctly, the seams will stop pressing into your ankle and either lay flat or curl slightly outward.
Apply Leather Conditioner To speed up the process, apply a leather conditioner to soften the leather and break in the boots faster.
How to Reinforce Boot Ankle Areas for Better Support?
When you realize the fit around your ankle is becoming exaggerated, you probably are asking yourself how to achieve a perfect fit again. Here are several solutions to help reinforce boot ankle DIY:
1. Thick Socks

If the inner boot has been sculpted and is now resting inside the boots, then putting on a few extra pairs of socks is one of the easiest fixes out there. This solution adds additional support to your ankle.
2. Insoles

Insoles are a great addition in the sense that they will lift your foot and reduce the amount of space in the boot. It also disperses the weight which helps in relieving the strain on the ankle area of the boot.
3. Lacing Techniques

As you lace, or as a way of finishing off the boot, especially if the boot carries laces as in most cases, “crisscross” and “locking” ankle lace techniques can be used to enhance fit.
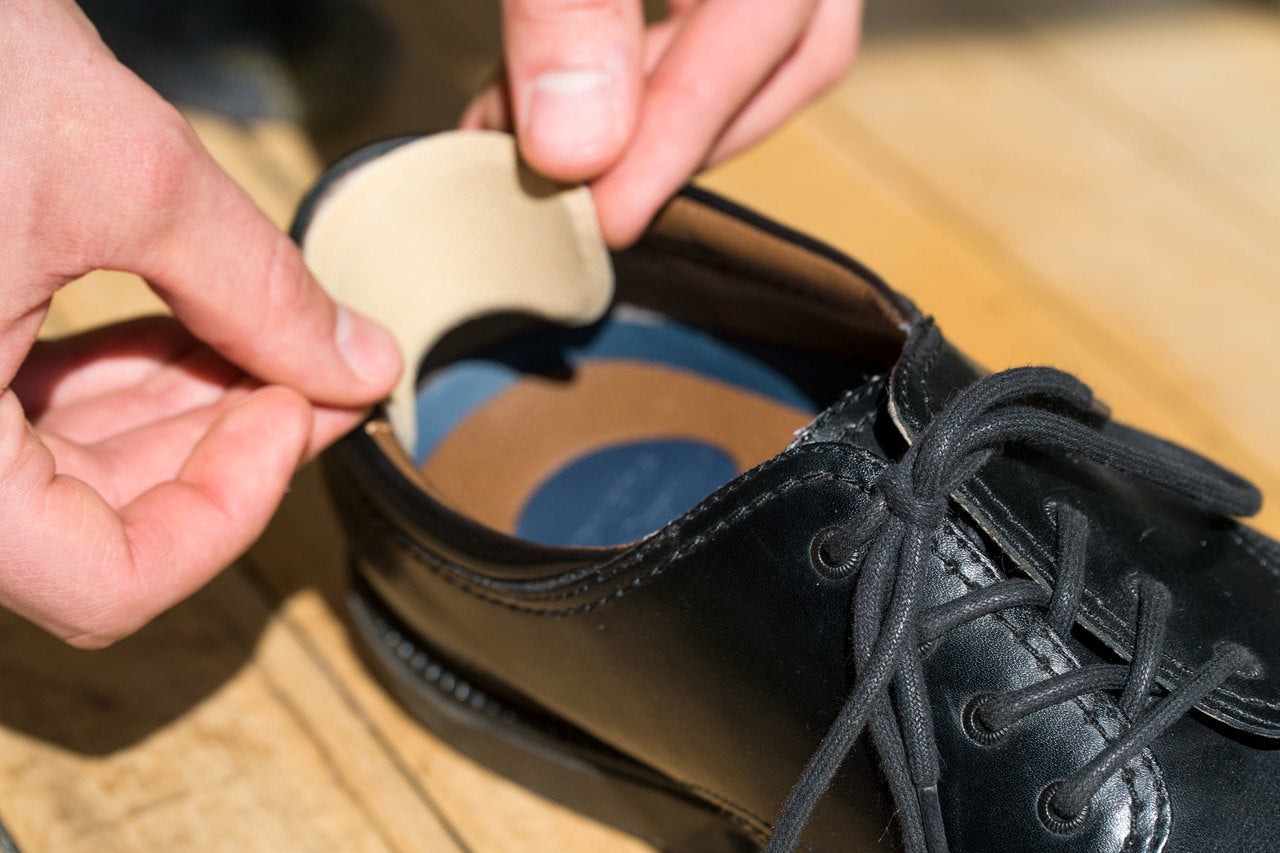
4. Ankle Padding

Ankle padding can be especially useful for addressing issues like boot slouching and ankle discomfort. Such materials help to retain the boot's structure while providing a tight fit, reducing the possibility of shifting, which causes blisters and pain.
5. Heel Grips or Pads

Adhesive heel grips fit into the boot and hold the heel in place, preventing sliding. In addition, they also assist in tightening the grip around the ankle which is more comfortable to walk with as well as more controllable.
6. Adjustable Straps

When boots have adjustable straps, the recommended practice is to fasten the strap to the desired level for support around the ankle. This is one of the simplest methods of making boot ankle reinforcement changes without altering the structure of the boots permanently.
DIY Boot Repairs: Fixing Tears, Cracks, and Sole Separation
1. Fixing Tears and Cracks in Boots

Rips and fissures are usually the first indicators of your shoes losing their composure. If you spot them on time, you can stop them from getting worse.
Here’s how you deal with them:
- Remove dirt and debris: Take a clean cloth and warm water (or isopropyl alcohol) and wipe off all the dirt around the tear. This prevents the adhesives from sticking to the dirt.
- Stick Duct Tape: Do the same on the inside of the tear with duct tape to keep the torn edges in place.
- Adhesive: Apply some strong shoe glue (for example, Tuff Toe) into the tear while squeezing the pieces together.
- Allow to set: Wait for the glue to set and dry anywhere between 24 - 72 hours depending on how deep the cut is.
- Protect the restoration: Use a water-resistant sealant to cover the restoration to avoid wear and tear from excessive moisture.
You can use these methods to strengthen the areas along the boot ankle that may be cracking or already cracked. It is a straightforward yet economical means of repairing your boots without the need for external help.
2. Repairing Boot Heels

Heel injuries can seriously disrupt your comfort and alignment. If your boot’s heel has broken or come off, here’s the solution:
- Cleaning the Heel and Boot Sole: Clean the heel and sole areas in the same way that you cleaned the cracks.
- Using Strong Adhesive: Use a strong adhesive to glue the heel back onto the boot’s sole.
- Pushing it Down: Fill the boot with a heavy object (like soup cans) to create pressure on the heel.
- Let It Set: Do not wear the heels for 48-72 hours, which is common duration advised to allow the adhesive to dry completely.
This is a very good method for reinforcing boot heels whereby your heels will always remain attached thus providing you with the right balance and support.
3. DIY Boot Sole Repair

You risk damaging the sole of a shoe more when stepping on uneven ground. So if the sole of your boot has started coming off, no worries because the following will fix it:
- Clean the Area: Clear dirt and any particles found on the sole and the boot.
- Apply Adhesive: A shoe adhesive is fixed to the shoe and the sole is fixed back.
- Duct Taping: Use duct tape to bind the boot while the sole is fixed in place, in case the adhesive is purchased due to the sole separating.
Let it Clinch: Let the adhesive dry for 2-3 days.
Seal off For Safeguard: Complete the task using a waterproof sealant so that the boots do not get damaged in the future.
Stitching the boot, ankle, and sole can thus be completed successfully without facing additional costs, allowing the boots' useful life to be extended.
Wrapping Up!
Because of the support that boots provide, they need to be well-maintained especially if one wears them often. You can use simple methods like these to strengthen the boot ankles, fix cuts and scrapes, and extend your boots' lifespan. While it may involve a pair of sagging boots or a broken heel, the main point is you have to deal with problems advanced and correspondingly apply the right solutions to urge the boots’ optimal state. By following these reinforce boot ankle DIY tips, you’ll keep your boots in optimal condition, whether you’re hiking, working, or just going about your day.
Step up your footwear game with Barismil, where the best in comfort, ankle support, durability, and style is found. Visit our new collection for ultimate all-day comfort!
FAQs on Reinforcing Boot Ankle DIY
How can I make my Boots more Supportive?
Thicker socks, insoles, and heel grips are some of the possible remedies that can be used in the quest to make the boots more stable. These reinforced boot ankle
DIY assist in closing up any voids near the ankle and raising the foot for enhancement in support.
How to stiffen Leather Boots at Home?
Leather boots can be soaked in mink oil or any other leather paste, and then certain boot trees or reinforced structure inserts can be added.
How to make Boots Tighter around the Ankle?
To help tight-fitting boots, thick socks or insoles or heel grips can be used, or even adjustment of any ankle straps or laces where available. If these measures fail, you may need to seek the services of a professional cobbler for remodeling the shoes.
How to Stiffen Slouchy Boots?
Drapey boots can be given more structure and stiffened by using boot shapers and leather inserts. Restoration sprays and creams used for waterproofing such as mink oil can also assist in reshaping and restyling.
